- Fri Jan 06, 2012 1:30 pm
#288735
- Fri Jan 06, 2012 3:26 pm
#288751
Pics are a plus
But that air box mod is going to make your engine lose power and torque rather than gain any thing.
- Mon Jan 09, 2012 11:31 pm
#289231
check out the build thread>> http://civic-eg.com/viewtopic.php?p=244809#244809
- Tue Jan 10, 2012 7:33 pm
#289339
Wow, I love all the pics. Nice thread you've got here. Keep it up!

- Wed Jan 11, 2012 4:48 pm
#289473
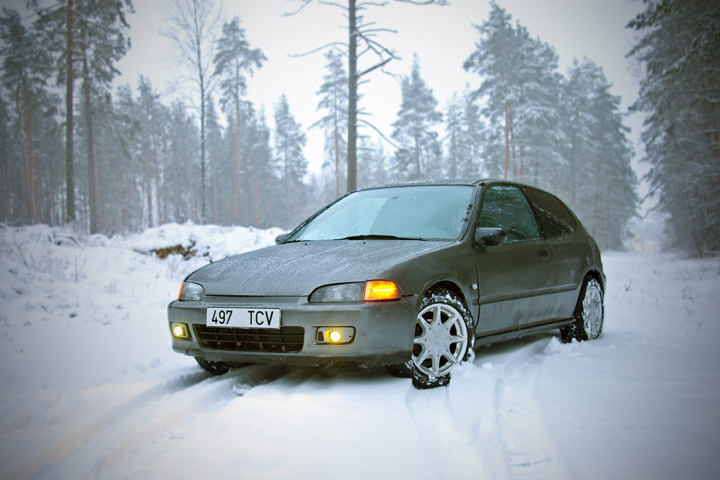
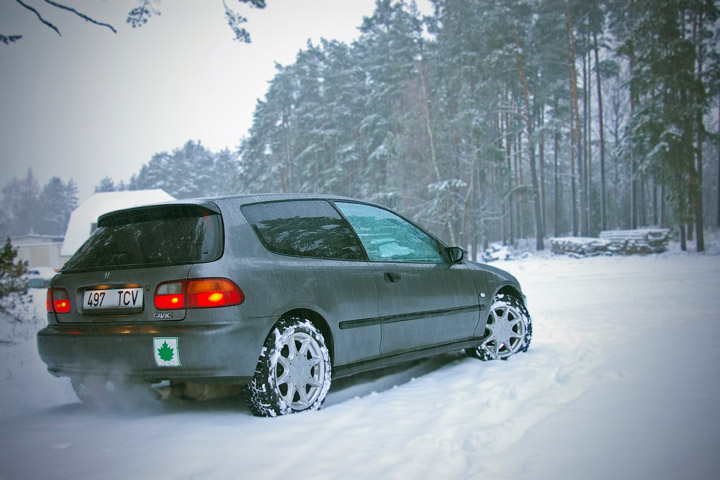
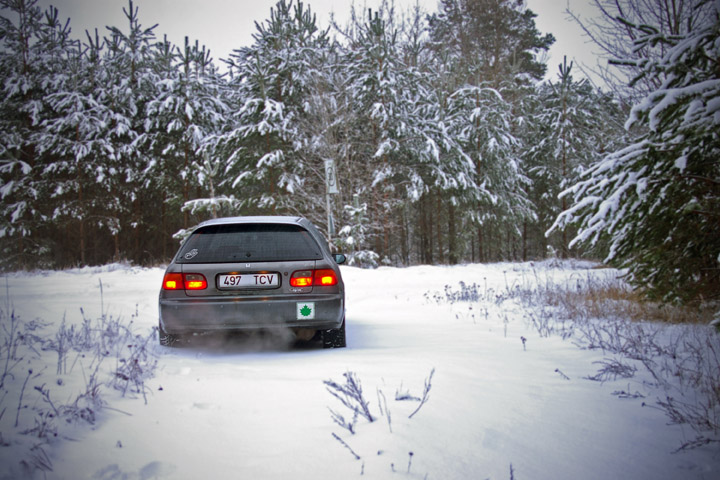
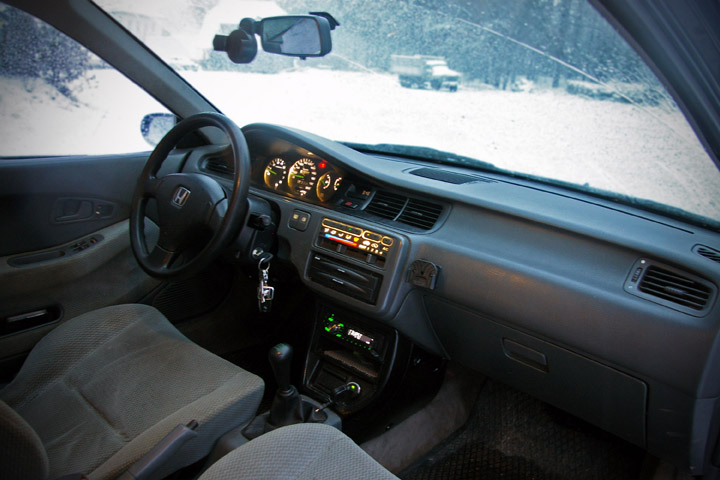
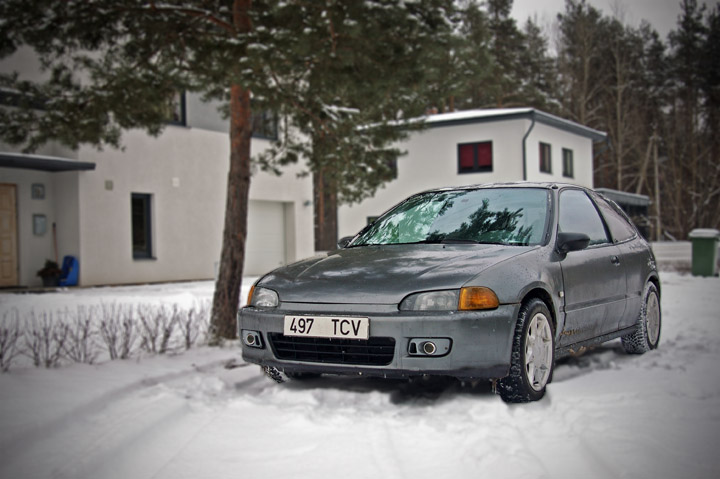
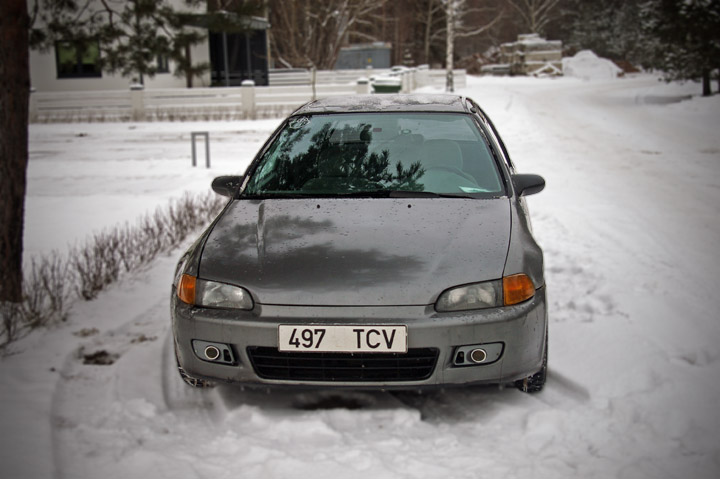
Since the weather doesn't allow to do much outside(cold n' wet), I decided to finally do some winter shots of this car(sorry, for the car being dirty:S)
I think this is enough LOW for the winter:D
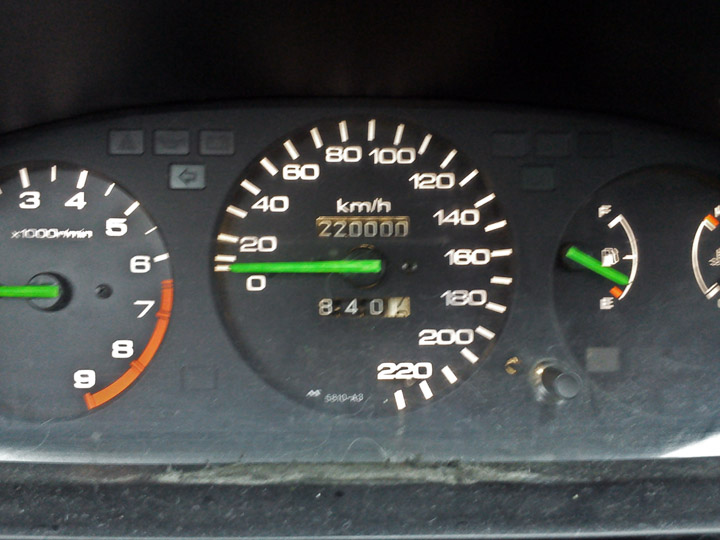
+ soon, soon, 220'000km will fulfill:D
I think this is enough LOW for the winter:D
+ soon, soon, 220'000km will fulfill:D
- Tue Jan 17, 2012 2:55 pm
#290493
Since my Osram Nightbreaker+ headlight bulbs broke, I'm thinking about Nrva Power Range Blue's, but first I gotta build the headlight on a relay based system:p
Yesterday, after 3km of random dilly-dalling I managed to get my mileage to a good point:D 220000km
Since the weather is bad and I't doesn't invite out much to work on the car, I decided to make a small 220k gift to my Civic:P
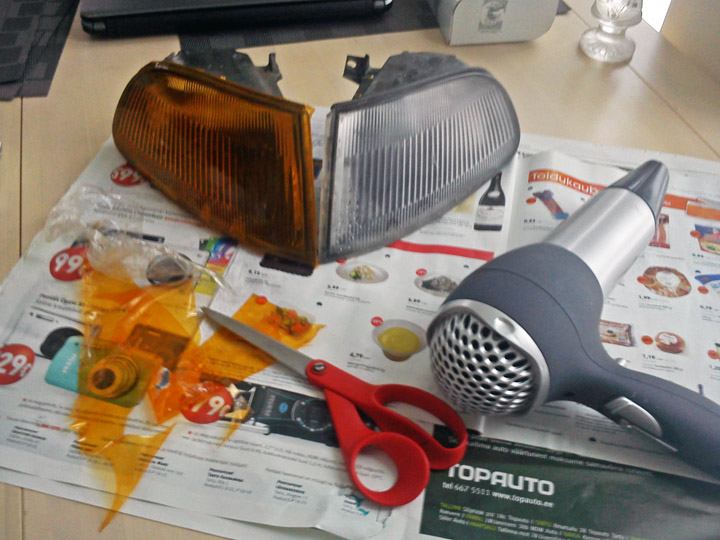
I took some amber tint and made myself amber turn signals. The oucome is much darker than expected, but since I pained 2/4 of my reflector a year ago to make it look more darker, it's OK
One turn signal done(seems like, all the good you make comes back to you one day, because I just gave my sister a new hairdryer for her B-day and today I needed it for this DIY):
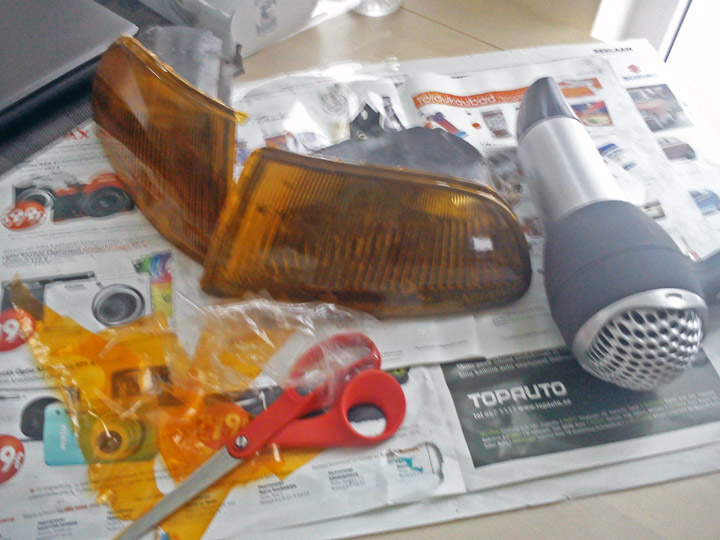
Both done. They came out a little shitty, with some dirt between the tint, but still better than expected. But this doesn't mean that I'm not gona buy proper amber turn signals. The tint is just a temporary look:P
And some pictures on the car too(It looks like the lights sit bad, but the bumper sits bad actually. I don't bother to deal with it since I have a brand new bumper ready for paint already)
And ow yeah, I got 4th place on one of Estonias car forum's "Reader's car of the year" competitions:p I won a T-shirt, yey:P
Yesterday, after 3km of random dilly-dalling I managed to get my mileage to a good point:D 220000km
Since the weather is bad and I't doesn't invite out much to work on the car, I decided to make a small 220k gift to my Civic:P
I took some amber tint and made myself amber turn signals. The oucome is much darker than expected, but since I pained 2/4 of my reflector a year ago to make it look more darker, it's OK
One turn signal done(seems like, all the good you make comes back to you one day, because I just gave my sister a new hairdryer for her B-day and today I needed it for this DIY):
Both done. They came out a little shitty, with some dirt between the tint, but still better than expected. But this doesn't mean that I'm not gona buy proper amber turn signals. The tint is just a temporary look:P
And some pictures on the car too(It looks like the lights sit bad, but the bumper sits bad actually. I don't bother to deal with it since I have a brand new bumper ready for paint already)
And ow yeah, I got 4th place on one of Estonias car forum's "Reader's car of the year" competitions:p I won a T-shirt, yey:P
- Sun Jan 22, 2012 6:33 pm
#291473
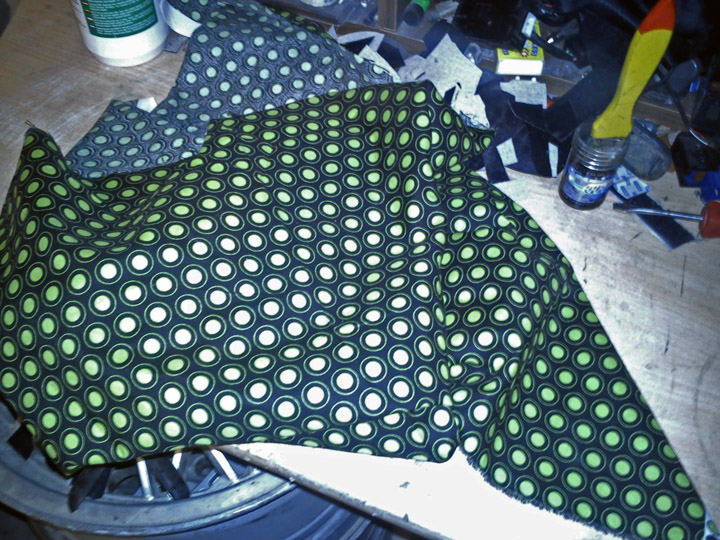
So, some may remember, that someday I bought this "beautiful" fabric:
And since it's boring at home and I haven't done anything to my car for a while, I decided to do something:D
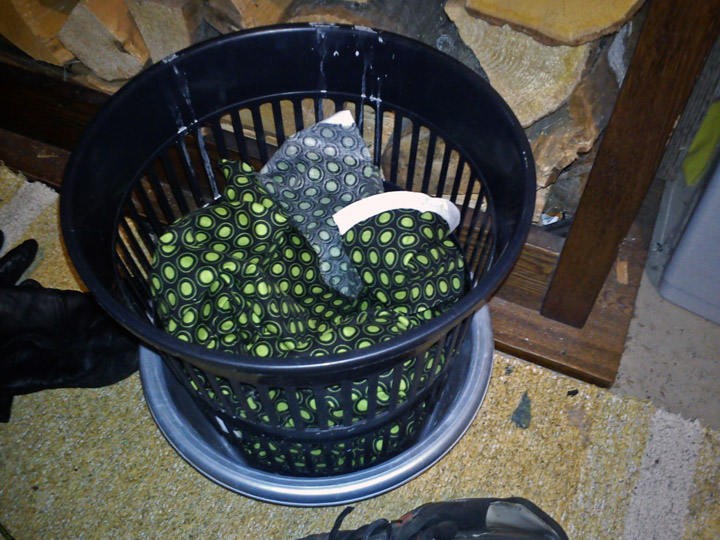
Firstly, I throwed away this horrible fabric:
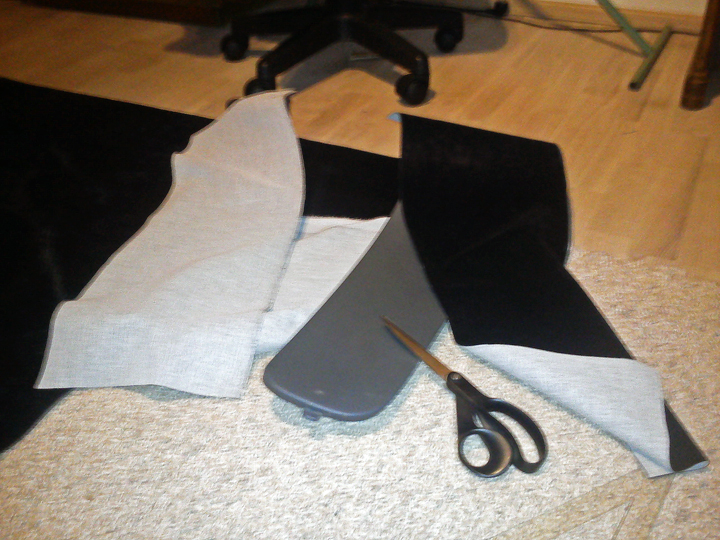
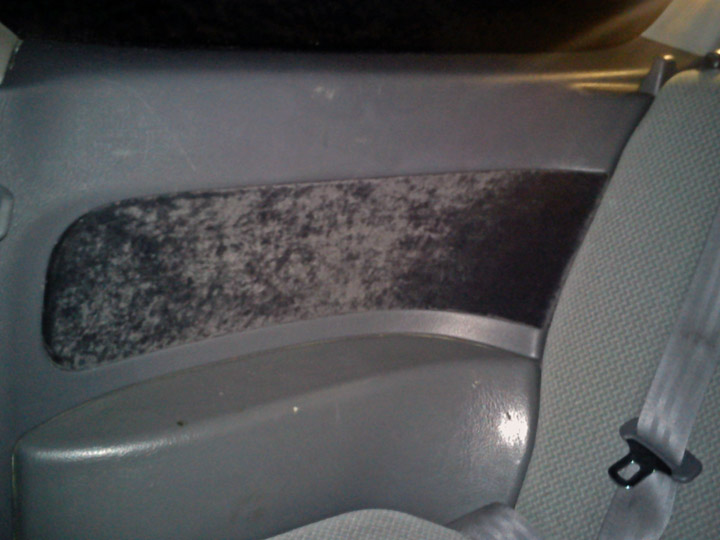
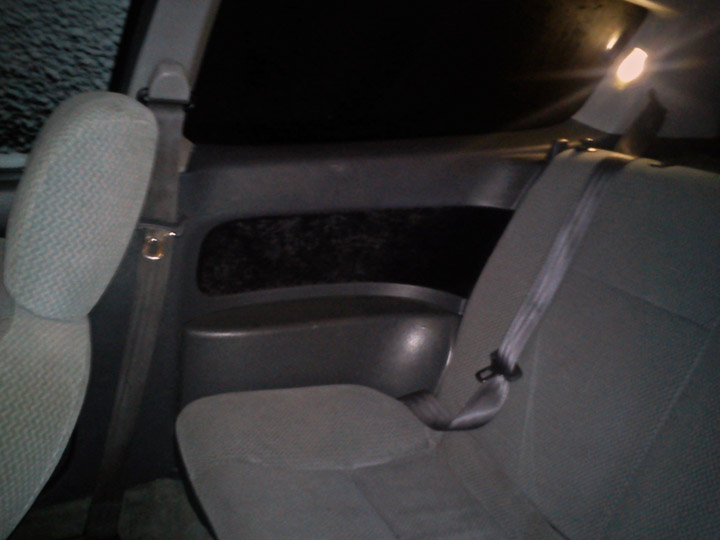
And took new, much more expensive and more beautiful fabric called "Jaguar". It feels kinda like velvet, but better:D I also had a choice between Jaguar and Altara(Alcantara fake), but Jaguar seemed much more with a expensive look and I chose this.
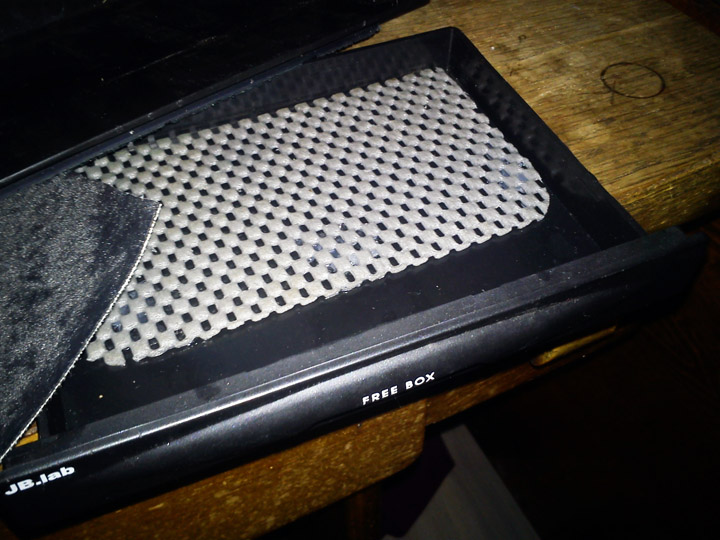
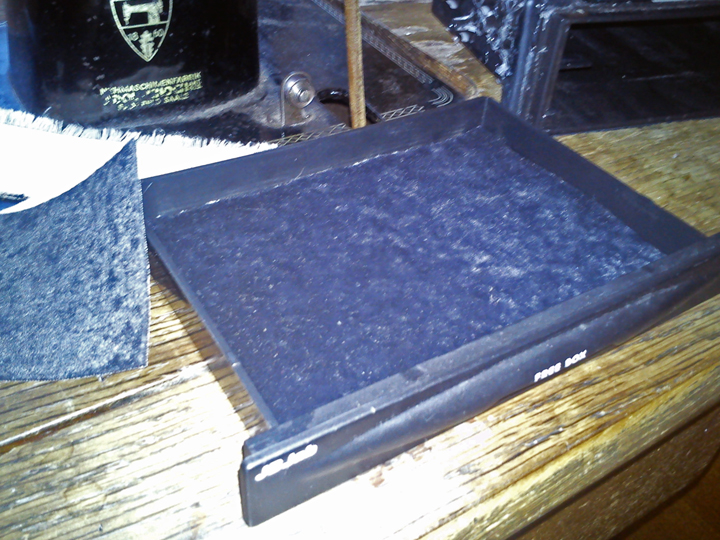
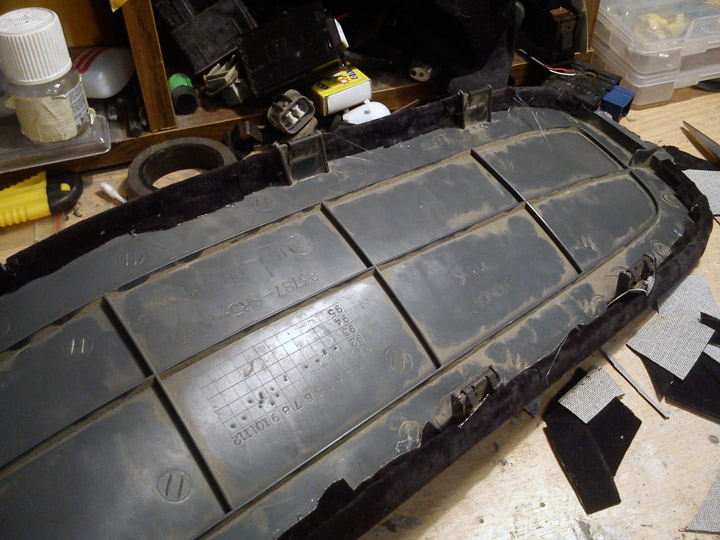
Firstly i started with the coin pocket and rear side panels. Here is the old coin pocket view:
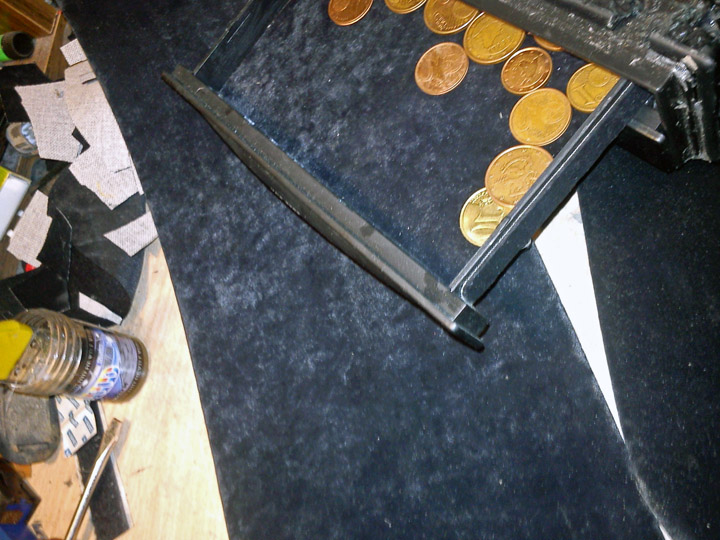
And the new one:
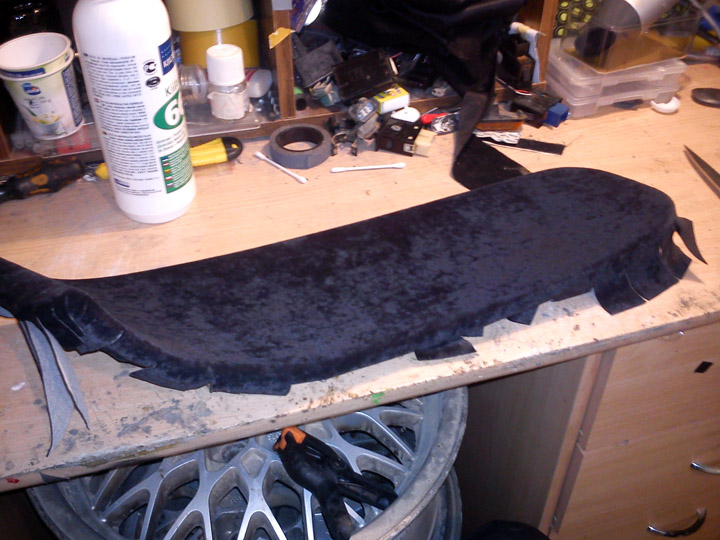
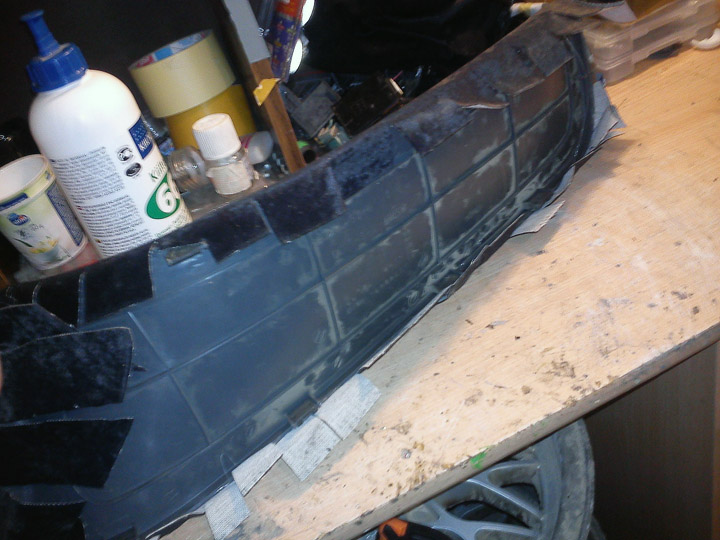
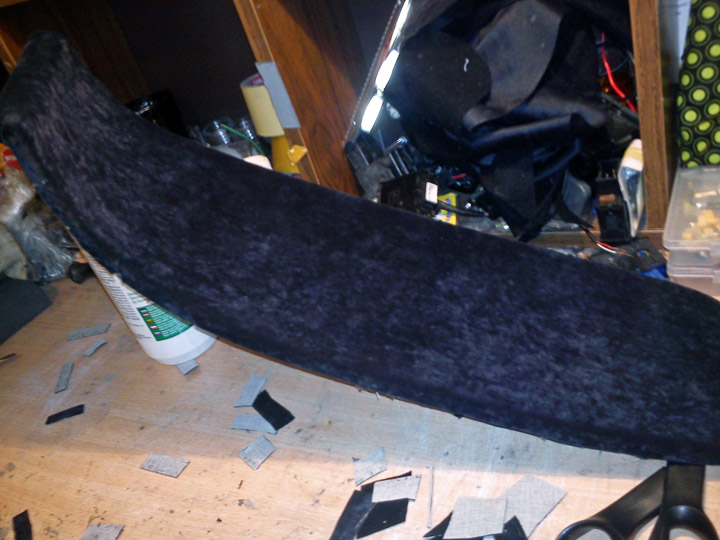
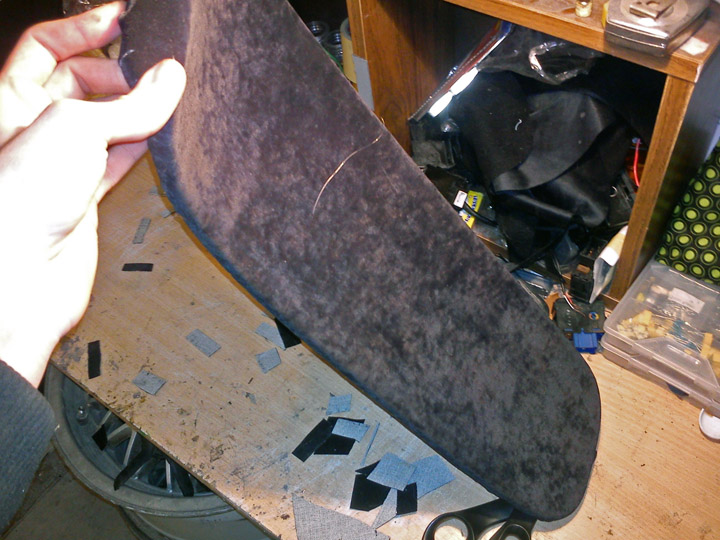
So I started doing side panels:
Fixed the edges with hot glue.
The final outcome looked really good and pretty. I was kinda afraid, that I would get weird corners and wrinkles, but all ended well.
With some light:
With the coin pocket:
Inside the car:
And since it's boring at home and I haven't done anything to my car for a while, I decided to do something:D
Firstly, I throwed away this horrible fabric:
And took new, much more expensive and more beautiful fabric called "Jaguar". It feels kinda like velvet, but better:D I also had a choice between Jaguar and Altara(Alcantara fake), but Jaguar seemed much more with a expensive look and I chose this.
Firstly i started with the coin pocket and rear side panels. Here is the old coin pocket view:
And the new one:
So I started doing side panels:
Fixed the edges with hot glue.
The final outcome looked really good and pretty. I was kinda afraid, that I would get weird corners and wrinkles, but all ended well.
With some light:
With the coin pocket:
Inside the car:
- Mon Jan 23, 2012 7:23 pm
#291606
Thx, I don't really believe in paying someone for something that I can learn myself and get a new experience:D
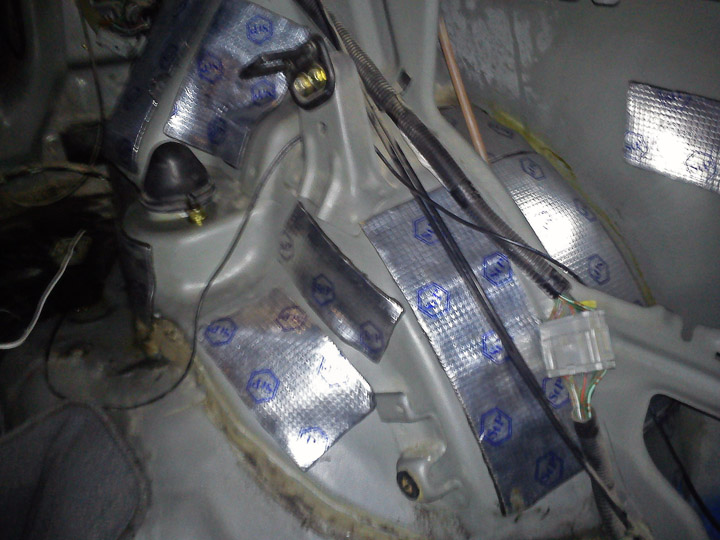
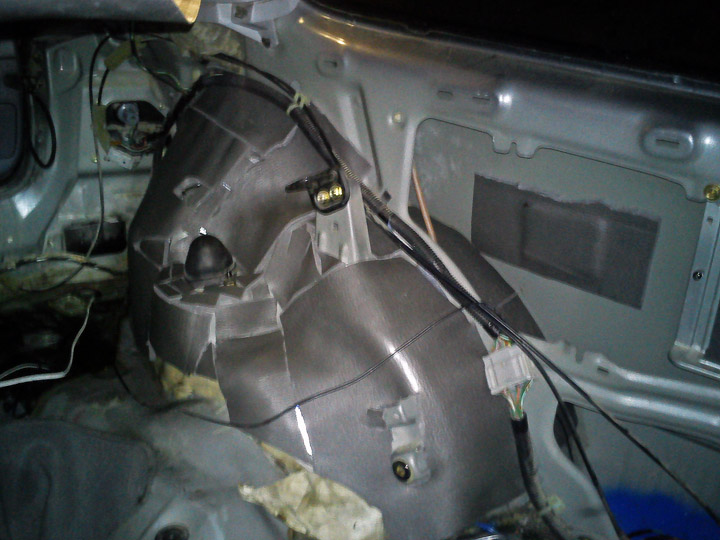
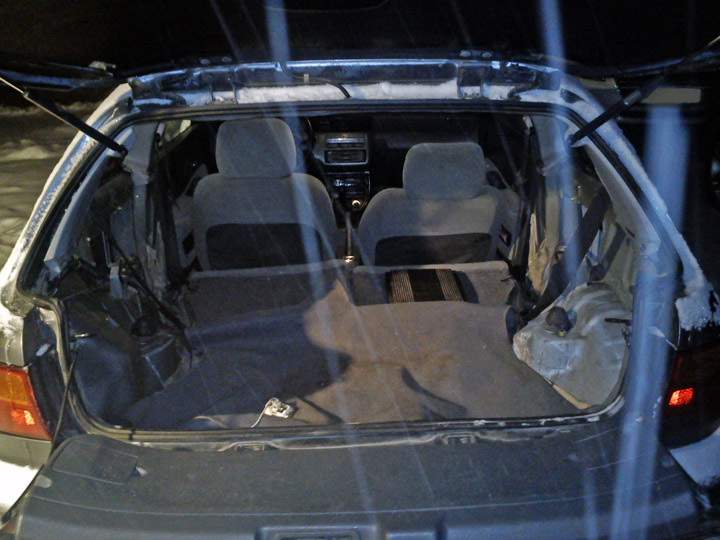
So, today I managed to tear apart the interior Again:D
And since I had nothing else to do (waiting on my fabric), I thought, fuck it, and decided to do sound isolation:D
It was quite a experience, because I can't fit into my garage(19, so I live w my parents) I decided to do it out in the snowy estonian weather, which was -10degrees Celsius:D The heating and reheating everything many-many times, but I somehow managed:D
I WANT SUMMER(or a big warm garage):P
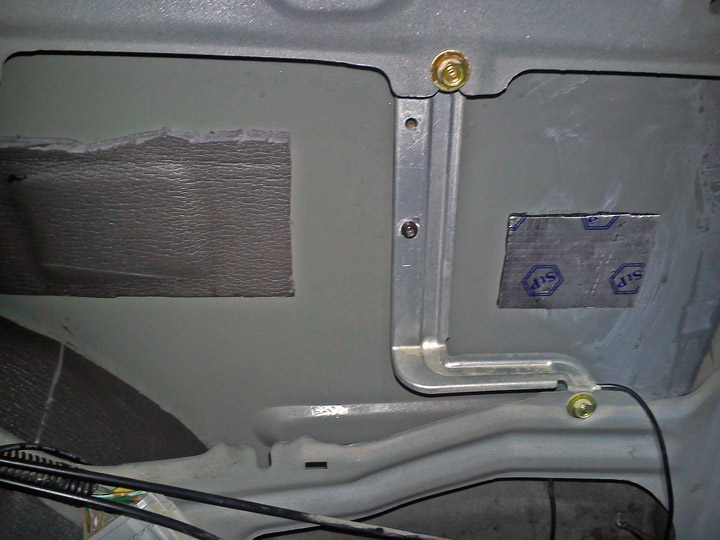
Anyway, few pics of the sound mat process:
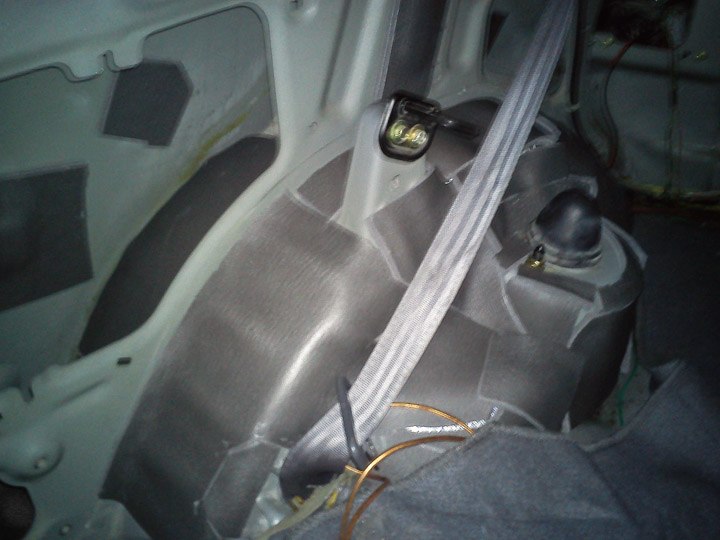
And sound sponge process(really great thing:D):
And threw a few pieces of both to the sidewall of the car, just for the lol's and it turned out good:D The side where the pieces are, is more quieter when hit and the other side is like a tin can:D
Today I only managed to do only one side, but with these conditions it's not such a bad result:D
And the last pic of my minibus:D She's going to be a 2-seater for a week:P
So, today I managed to tear apart the interior Again:D
And since I had nothing else to do (waiting on my fabric), I thought, fuck it, and decided to do sound isolation:D
It was quite a experience, because I can't fit into my garage(19, so I live w my parents) I decided to do it out in the snowy estonian weather, which was -10degrees Celsius:D The heating and reheating everything many-many times, but I somehow managed:D
I WANT SUMMER(or a big warm garage):P
Anyway, few pics of the sound mat process:
And sound sponge process(really great thing:D):
And threw a few pieces of both to the sidewall of the car, just for the lol's and it turned out good:D The side where the pieces are, is more quieter when hit and the other side is like a tin can:D
Today I only managed to do only one side, but with these conditions it's not such a bad result:D
And the last pic of my minibus:D She's going to be a 2-seater for a week:P
- Tue Jan 24, 2012 9:33 pm
#291776
It sure is:D
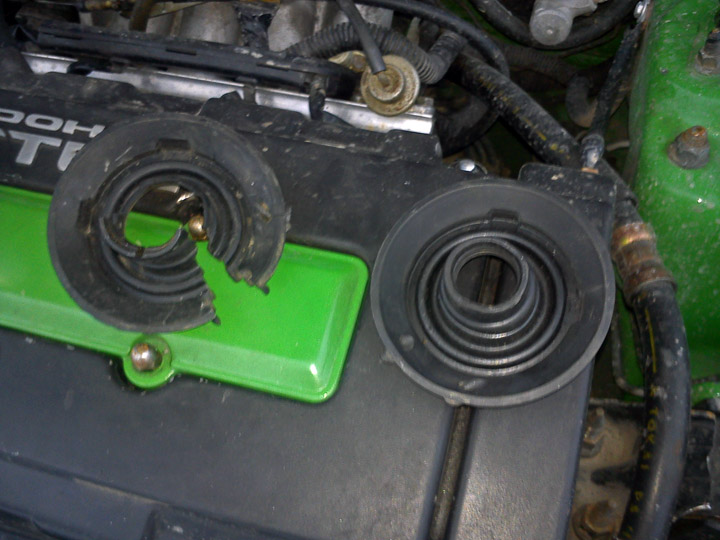
Today I finally changed the headlight rubberthingie:D
And finished the other side isolation. I hope it pays off well:D
And to loose final plastic rattles, I added some rubber trim/moldings aswell.
Planning to buy the fake-leather for the rear-interor tomorrow and do some electrical DIY's in the interior:P
Today I finally changed the headlight rubberthingie:D
And finished the other side isolation. I hope it pays off well:D
And to loose final plastic rattles, I added some rubber trim/moldings aswell.
Planning to buy the fake-leather for the rear-interor tomorrow and do some electrical DIY's in the interior:P
- Tue Jan 24, 2012 11:13 pm
#291797
gaining alot of progress, i like it!
good to see some before and after pictures
build thread: viewtopic.php?f=61&t=17304
- Wed Jan 25, 2012 9:28 pm
#292000
Thx, I really like feedback:D
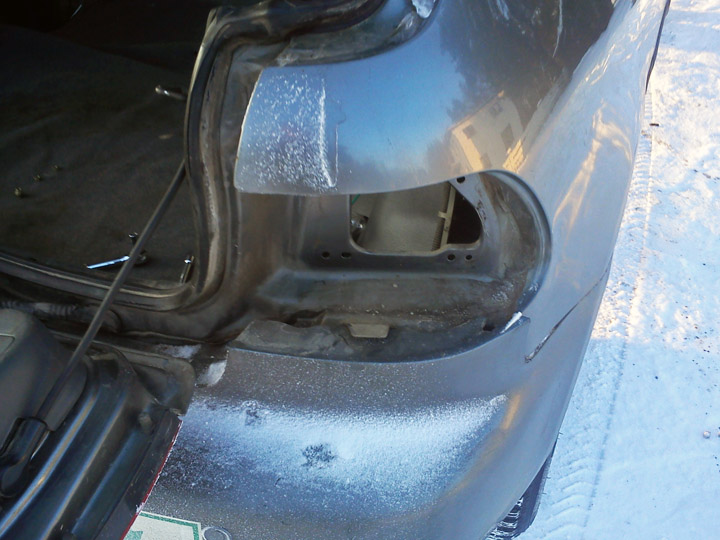
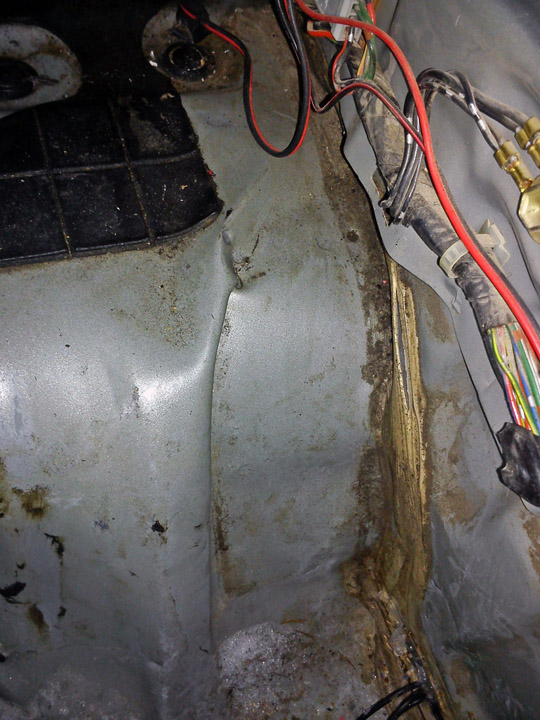
So, today before anything, decided to clean my boot. And I found a nice wrinkled body panel. I know, that It had an accident few years back, but since it was my mothers friend, we had a deal since the only damage seemed to be the hatch lid. But it seems, that that was much worse. But hey, no difference now:D
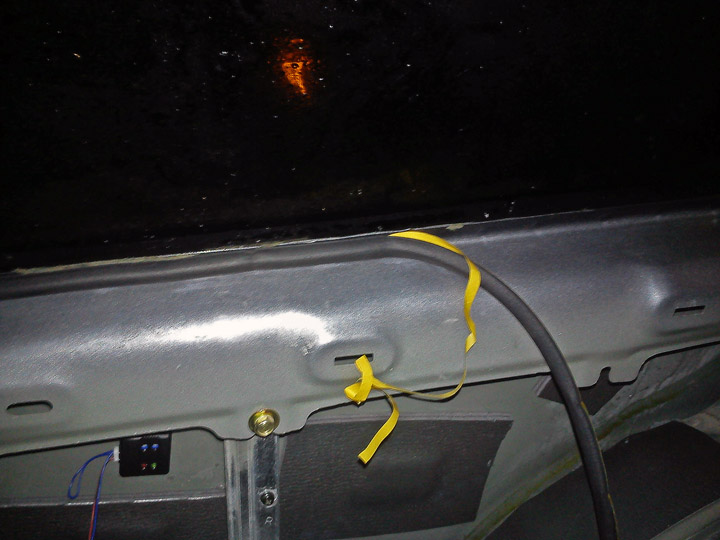
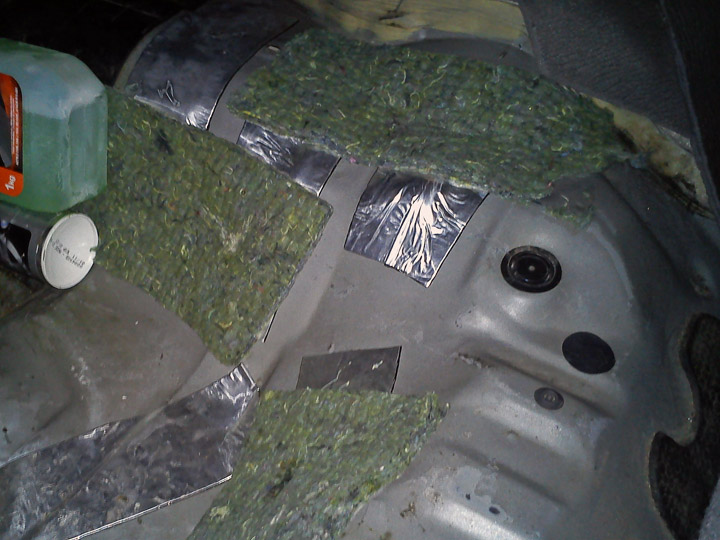
Anyway, since the "real" and good noise isolation products were out, I wanted to try the cheap DIY version. So bought one roll from home depot and started doing. The outcome wasn't much worse, but it still isn't as effective as the real deal. Much less effective actually, but hey, I tried:D
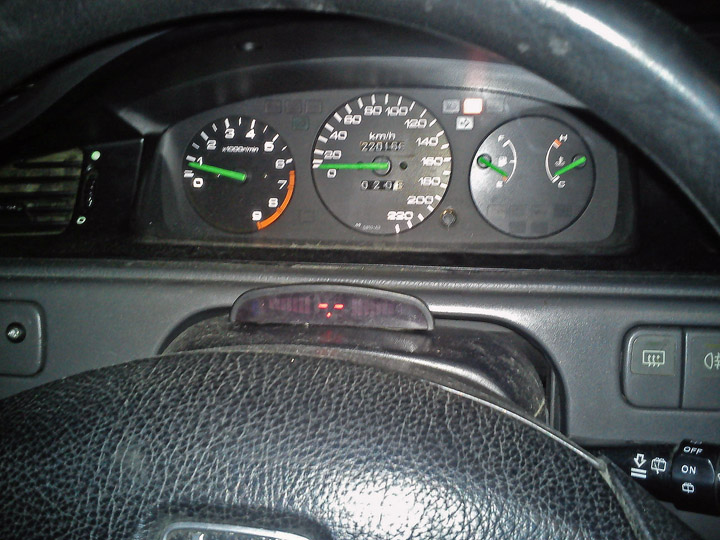
After that I decided to wire the parking sensors again, I don't miss them, just, if I have some electrical extra, it might as well work:D
Asukohta sai ka natukene sellel ekraanil muudetud:
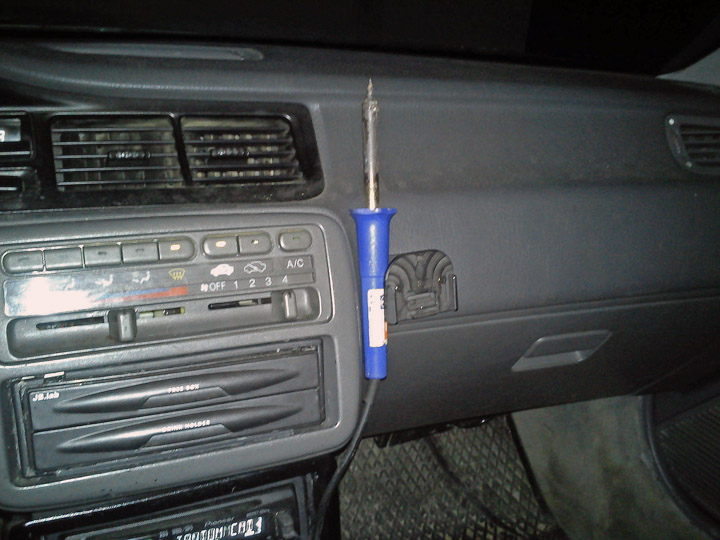
And a little picture of the soldering irons "safe" location:
So, today before anything, decided to clean my boot. And I found a nice wrinkled body panel. I know, that It had an accident few years back, but since it was my mothers friend, we had a deal since the only damage seemed to be the hatch lid. But it seems, that that was much worse. But hey, no difference now:D
Anyway, since the "real" and good noise isolation products were out, I wanted to try the cheap DIY version. So bought one roll from home depot and started doing. The outcome wasn't much worse, but it still isn't as effective as the real deal. Much less effective actually, but hey, I tried:D
After that I decided to wire the parking sensors again, I don't miss them, just, if I have some electrical extra, it might as well work:D
Asukohta sai ka natukene sellel ekraanil muudetud:
And a little picture of the soldering irons "safe" location:
- Thu Jan 26, 2012 8:51 pm
#292112
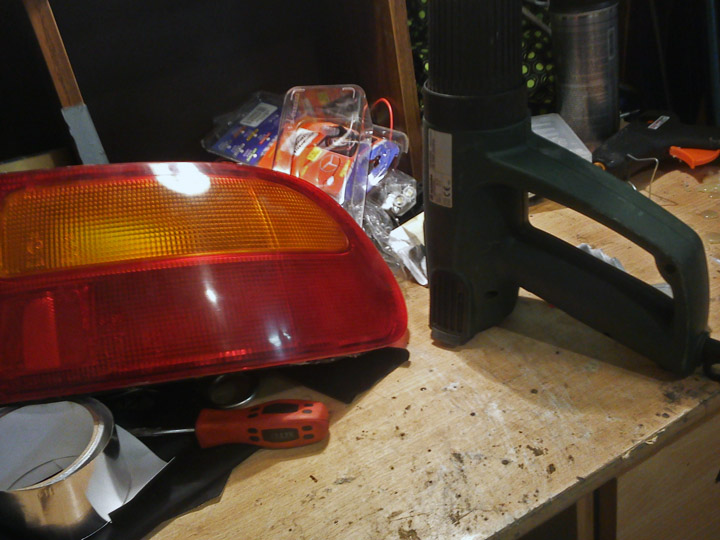
Today evening started like this:
I wanted to lose the Morse code in my rear lights("dot, pause, line", you'll realize this, when you look the after pics):
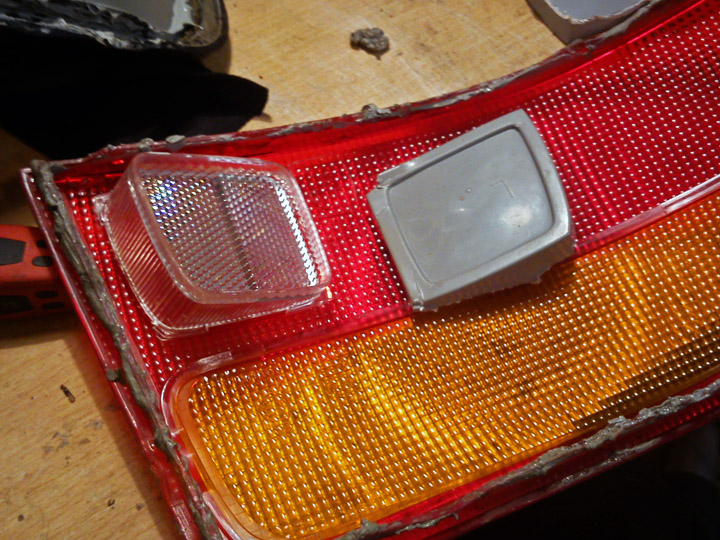
Removed the reflector shielding, yey to better visibility and looks:P
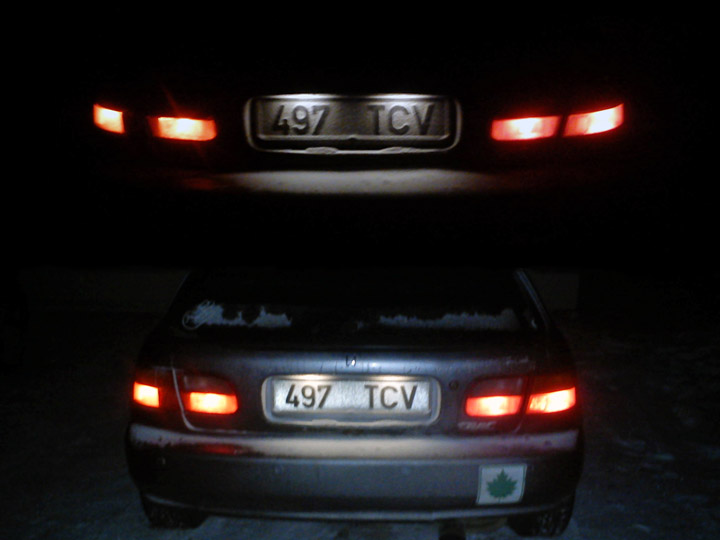
And a little outcome comarison picture(on the left ver.2, on the right the newer ver.3):
I wanted to lose the Morse code in my rear lights("dot, pause, line", you'll realize this, when you look the after pics):
Removed the reflector shielding, yey to better visibility and looks:P
And a little outcome comarison picture(on the left ver.2, on the right the newer ver.3):
- Page 1 of 3
- 1
- ,
- 2
- ,
- 3