
I borrowed these pics from D-Series.org.
Time required:
Front: 25 Minutes
Rear: 5 Minutes
Things you will need:
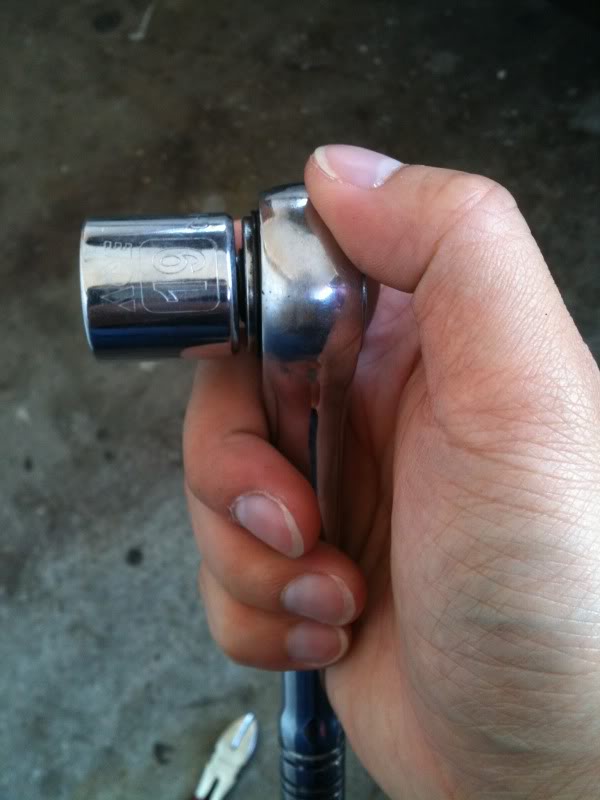
- Ratchet and 19mm socket
- Screw driver
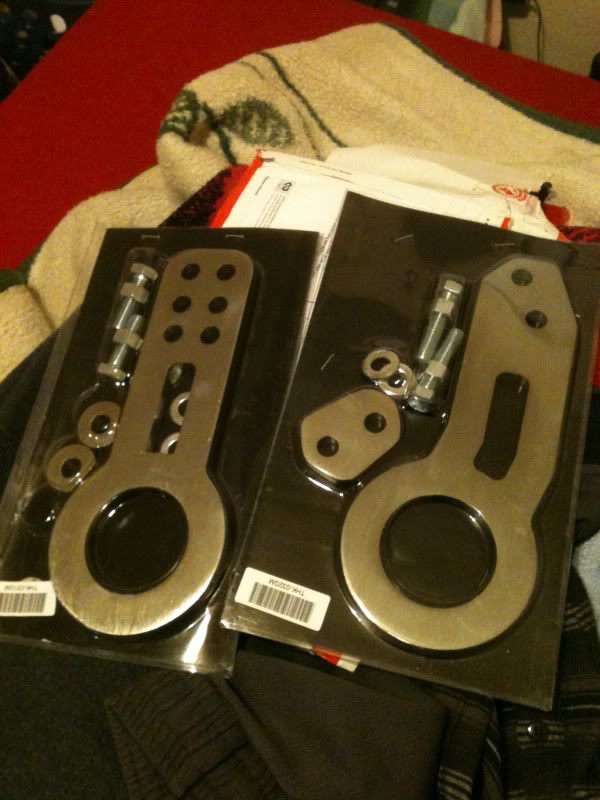
- Front and/or back towhook and the bolts that came with it
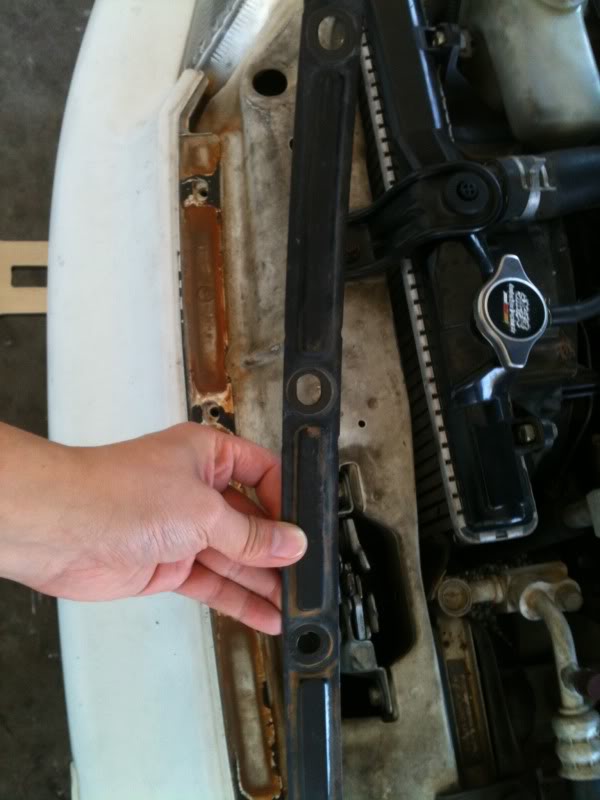
Step 1:
Take off the metal piece holding your front bumper on. There are 5 metal screws that need to come off.
Then, put it aside and keep the screws somewhere where you wont lose them!
Step 2:
Put your key in the ignition and turn the wheel all the way to the left or right. Or you can jack the car up a bit.
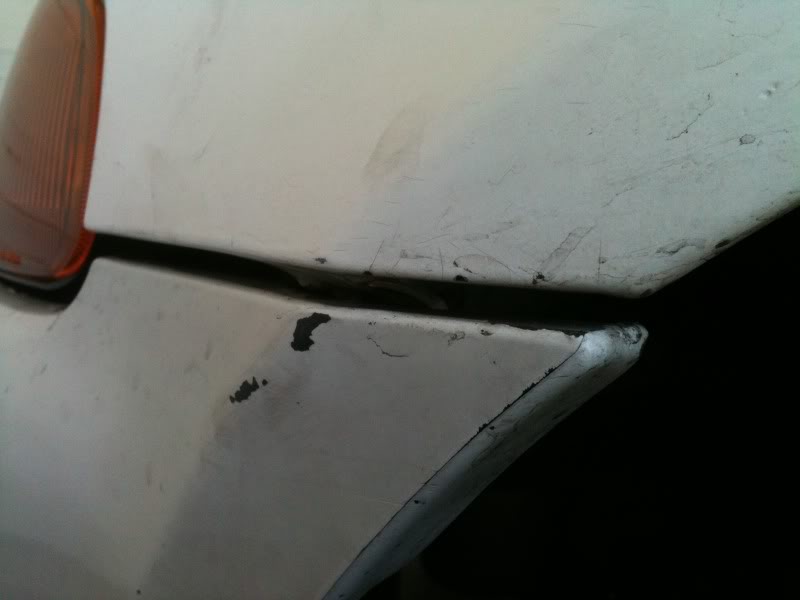
There is a plastic bolt on each side holding the front bumper onto the fender.
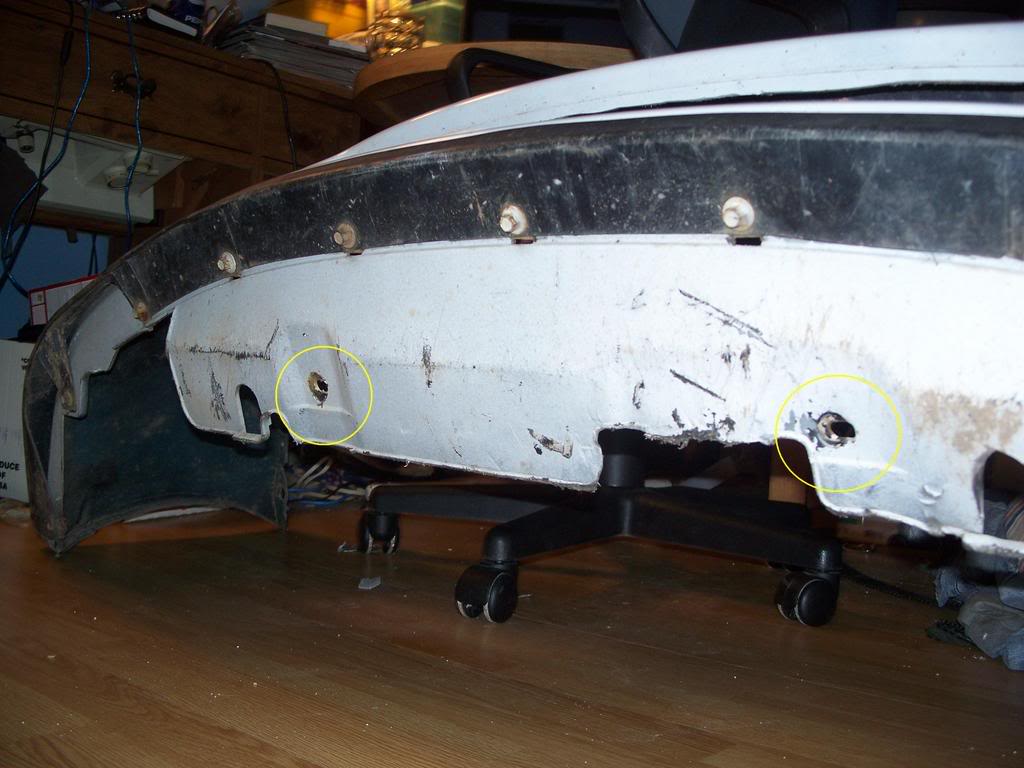
Step 3: Remove the two bolts from the bottom of the bumper.
(Picture credits to York62)
Step 4: Remove your front bumper and set it aside.
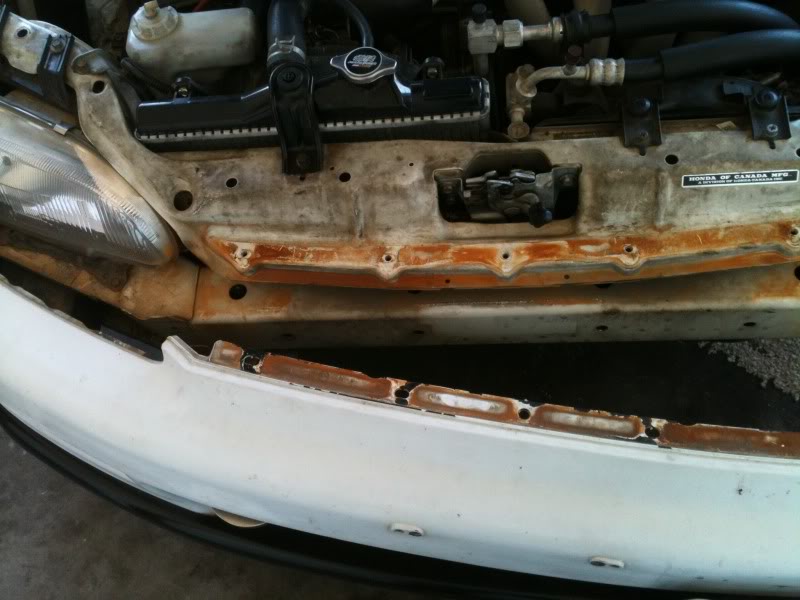
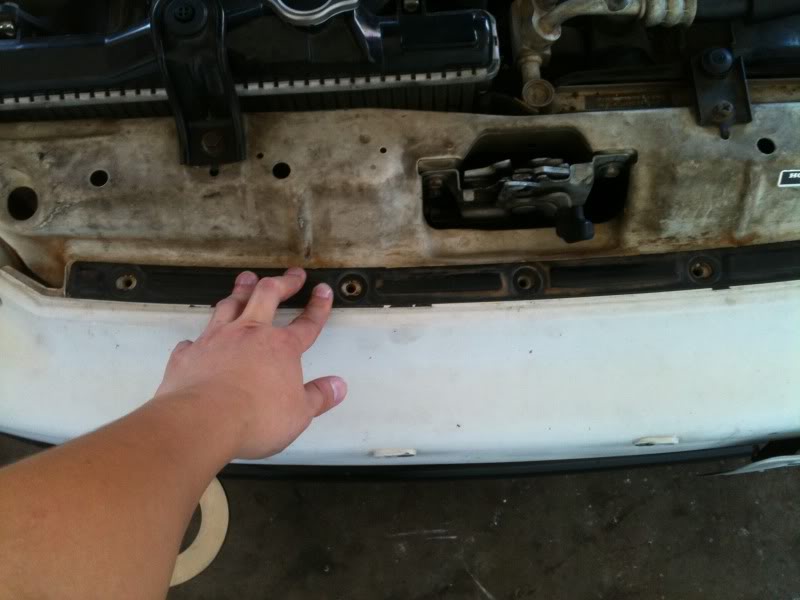
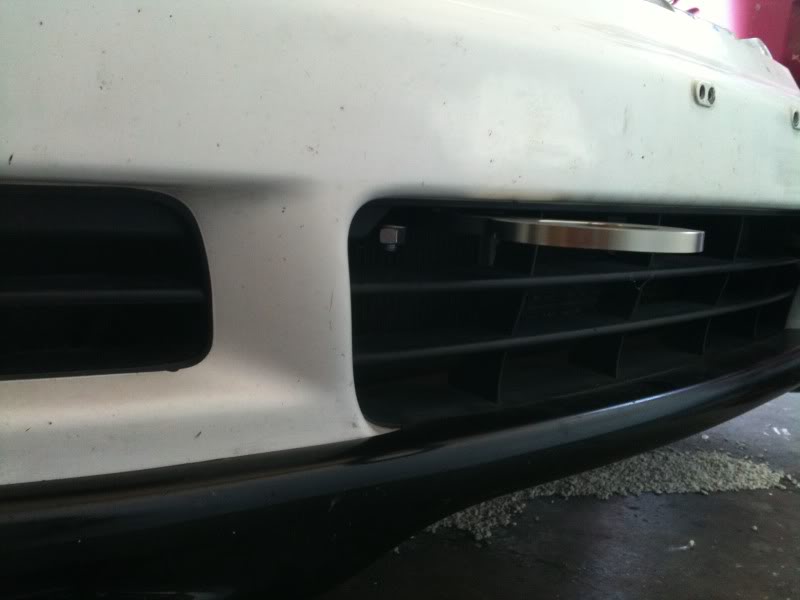
Step 5: After removing the bumper and putting it away, go straight to the bumper support frame and look under.
There should be some holes where you can mount your front tow hook. Pick either left, middle, or right.
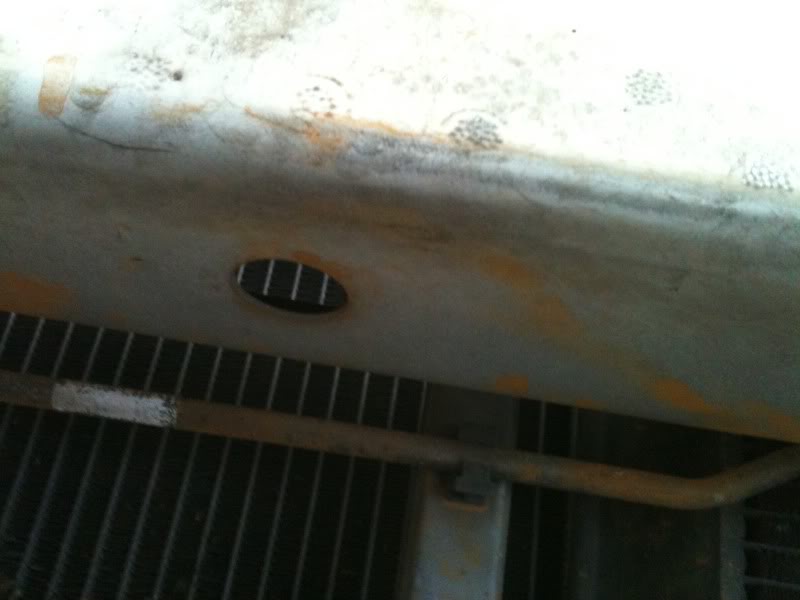
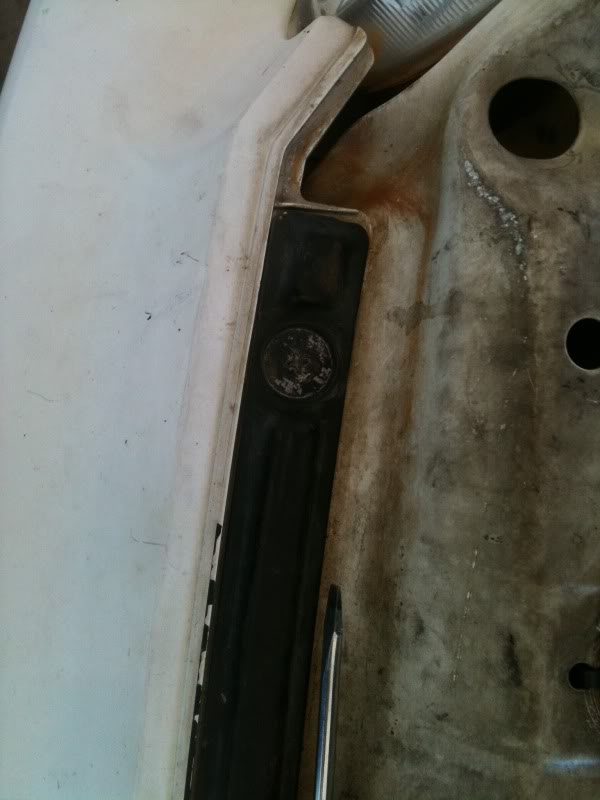
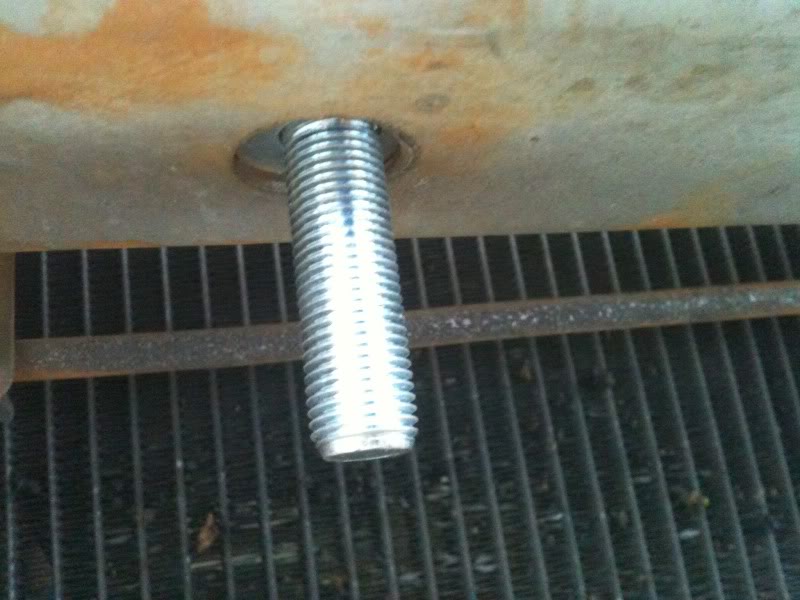
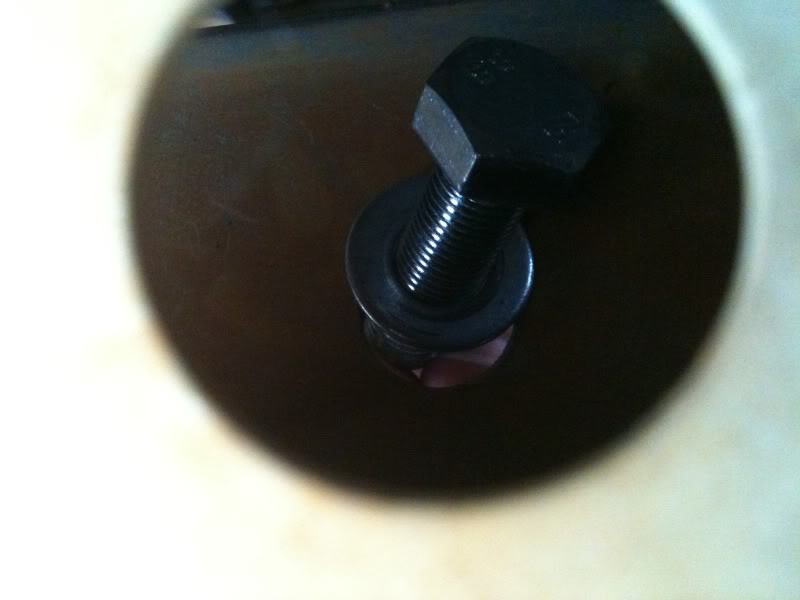
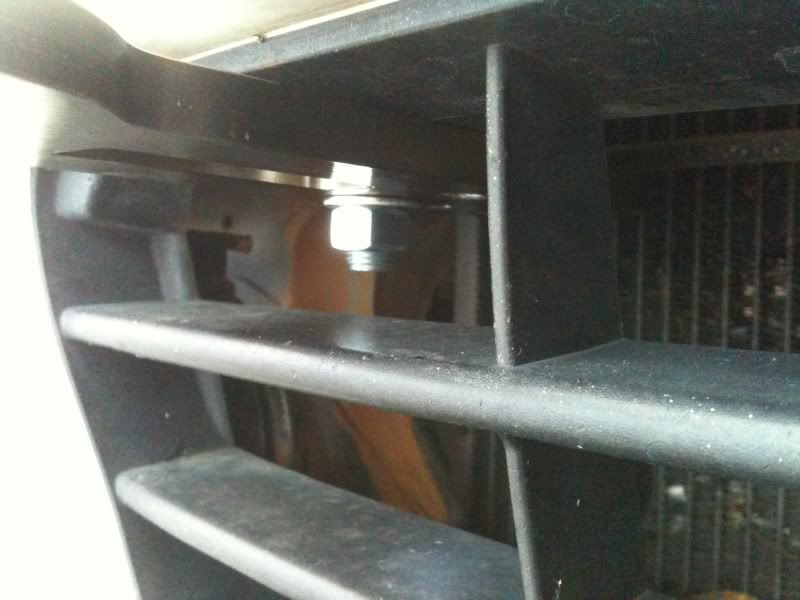
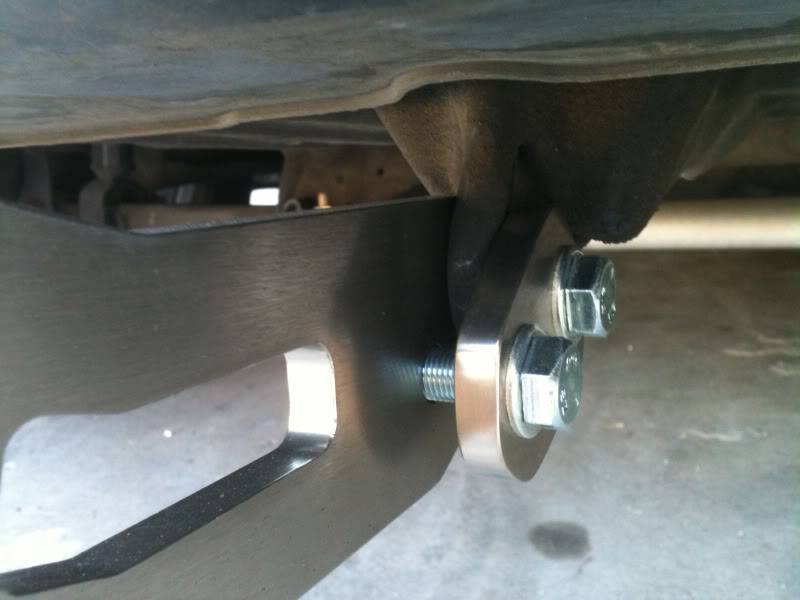
Step 6: Take your screw with washer and go behind the bumper support. It's a bit tight for those who have bigger hands.
Make sure you get your screw in the hole and it should look like this.

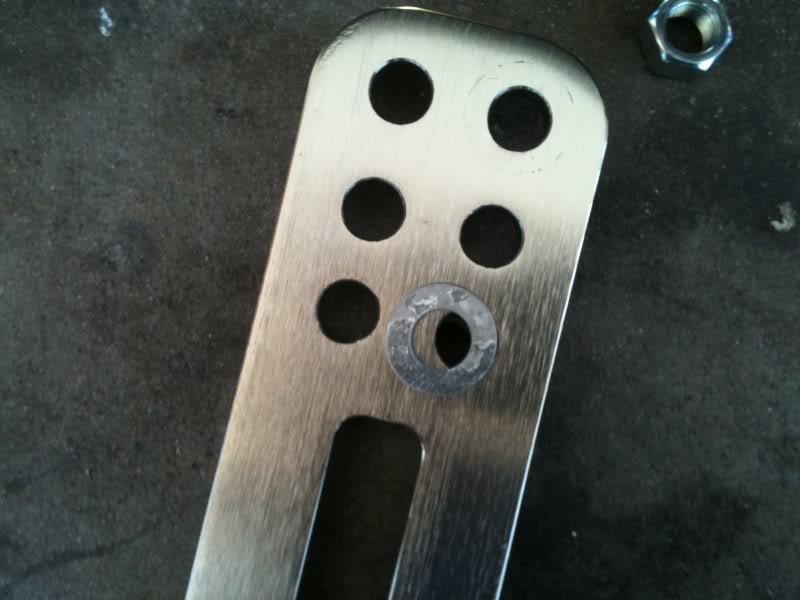
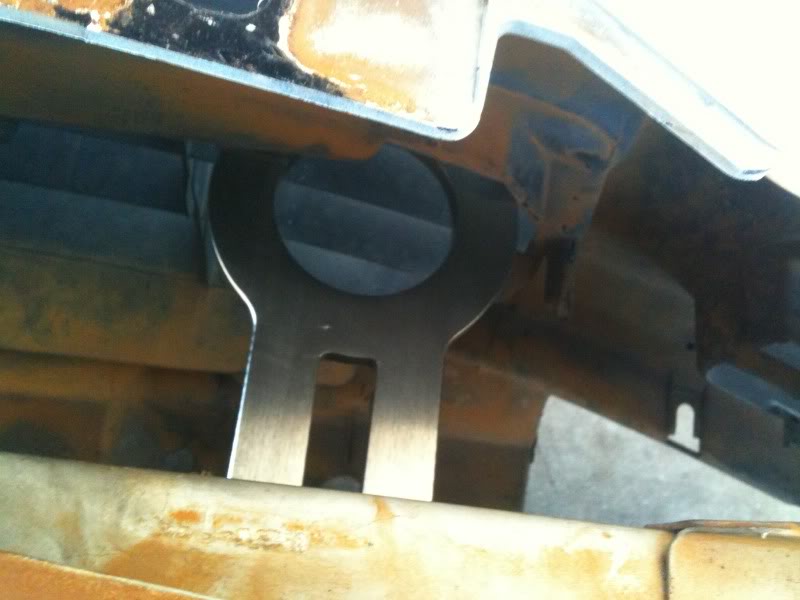
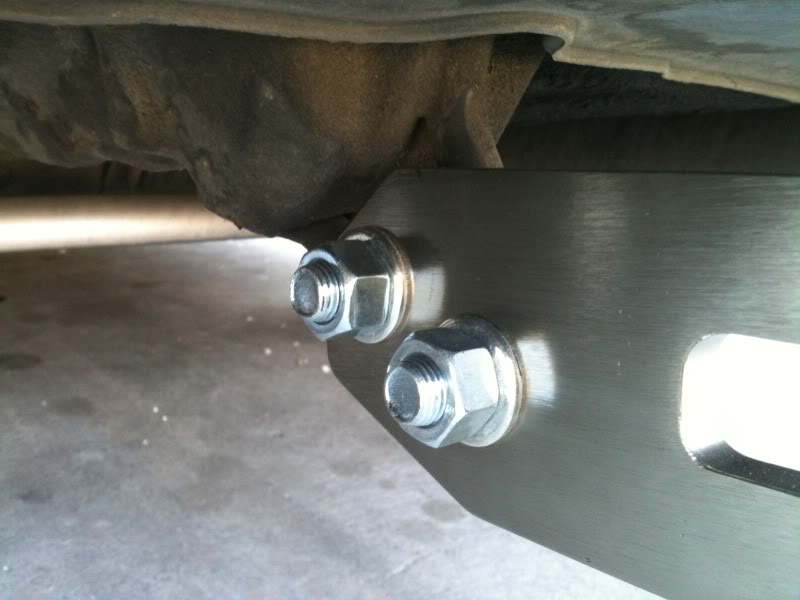
Step 7: Now get a hold of your front tow hook and the thick washer with a normal washer and the nut ready to be put on.
Make sure the thick one goes on first, then the tow hook, and lastly the washer and nut.
Top:

Bottom:
It should look like this when all done right.
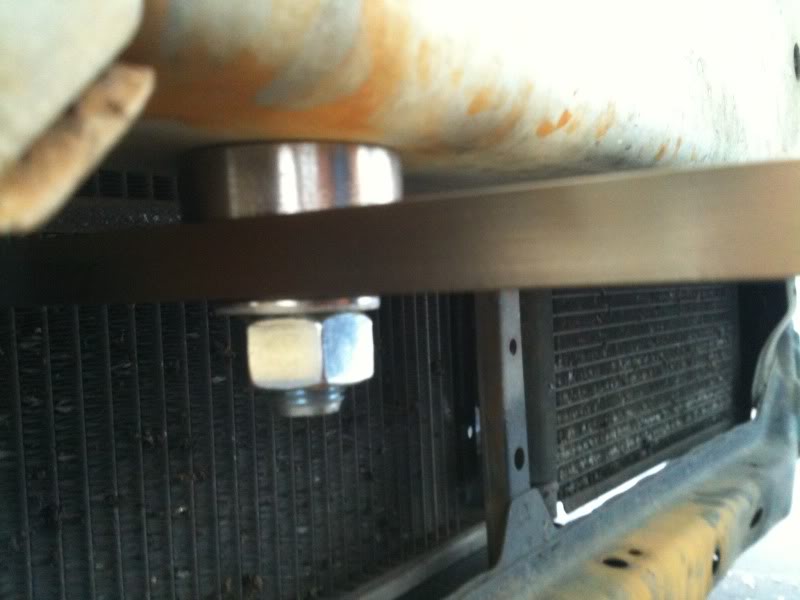
Now crank that sucker down! Hold the tow hook in place the way you want it.
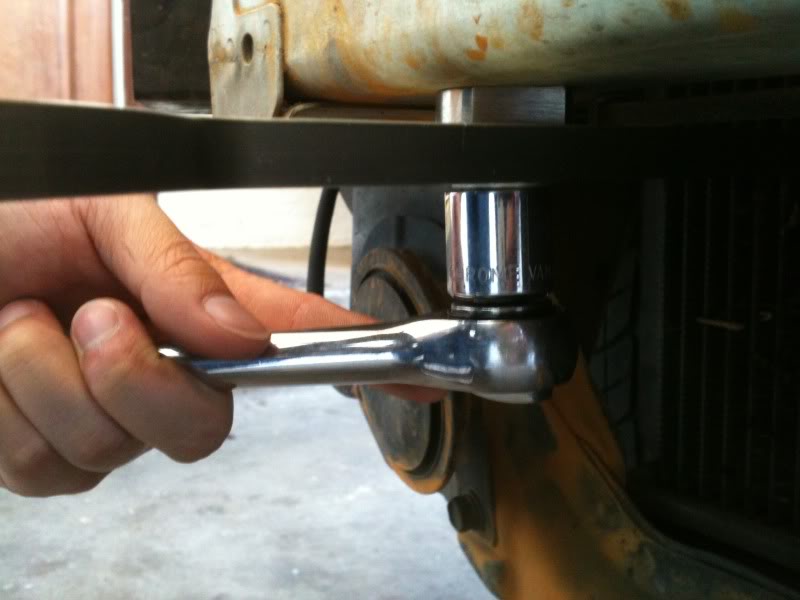
Step 8: Once you have tightened the nut, start putting the front bumper back in place.
Make sure you slide it on going through the 1st top of the front grill on the bumper.
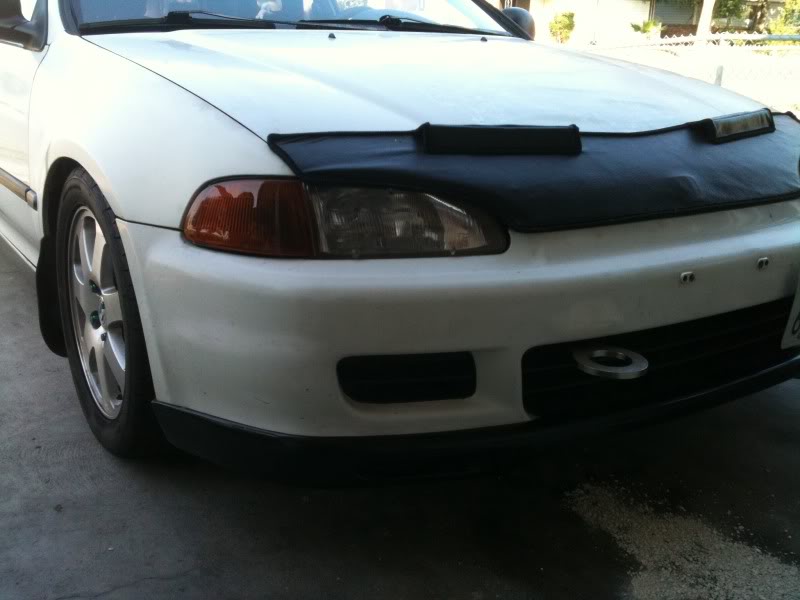
Step 9: Re-Install front bumper with all the bolts and screws.
And you're done with the front!
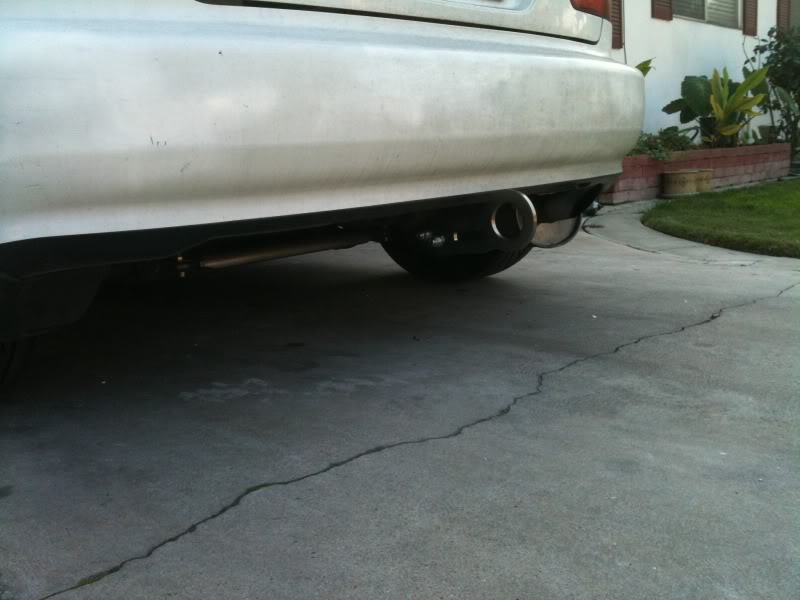
Now, for the rear. Basically just bolt one bolt through the little metal loop, and one outside the loop.
Hope this helps, guys!


